

Video editing tips for beginners (2026 guide)
This guide covers the essential video editing tips every beginner needs, from organizing footage to getting platform-specific edits right. Plus: a quick-reference checklist, software recommendations, and how AI can handle most of it for you.
TL;DR: Video editing checklist for beginners
Before you dive in, here's the short version. Come back to this checklist every time you start a new edit.
Organize your footage
Make a quick edit plan
Choose the best takes
Cut unnecessary pauses
Balance the pacing
Add B-roll and cutaways
Clean up the audio
Add intentional transitions
Why video editing matters
Video editing shapes how your content feels and how audiences connect to it. Even great footage can lose impact if the pacing is off, cuts feel awkward, or audio is inconsistent. With strong editing choices, you can tell a better story and drive deeper engagement.
Three elements drive video engagement more than anything else:
Pacing: Tight edits keep attention high and prevent drop-off.
Flow: Clean transitions and logical sequencing make your message easy to follow.
Sound quality: Clear, consistent audio builds trust and keeps viewers watching longer.
Especially on social platforms where viewers are multitasking and distracted, editing is what turns “watchable” into “scroll-stopping.”
With the right edits, you can turn any basic video clip into high-performing content. You don't need to master every tool or trick; you just need to understand the decisions that actually affect how a video feels to watch.
As a video creation tool used by millions of creators and businesses, we've seen what works. Here's what actually matters when you're starting out.
Is video editing hard to learn?
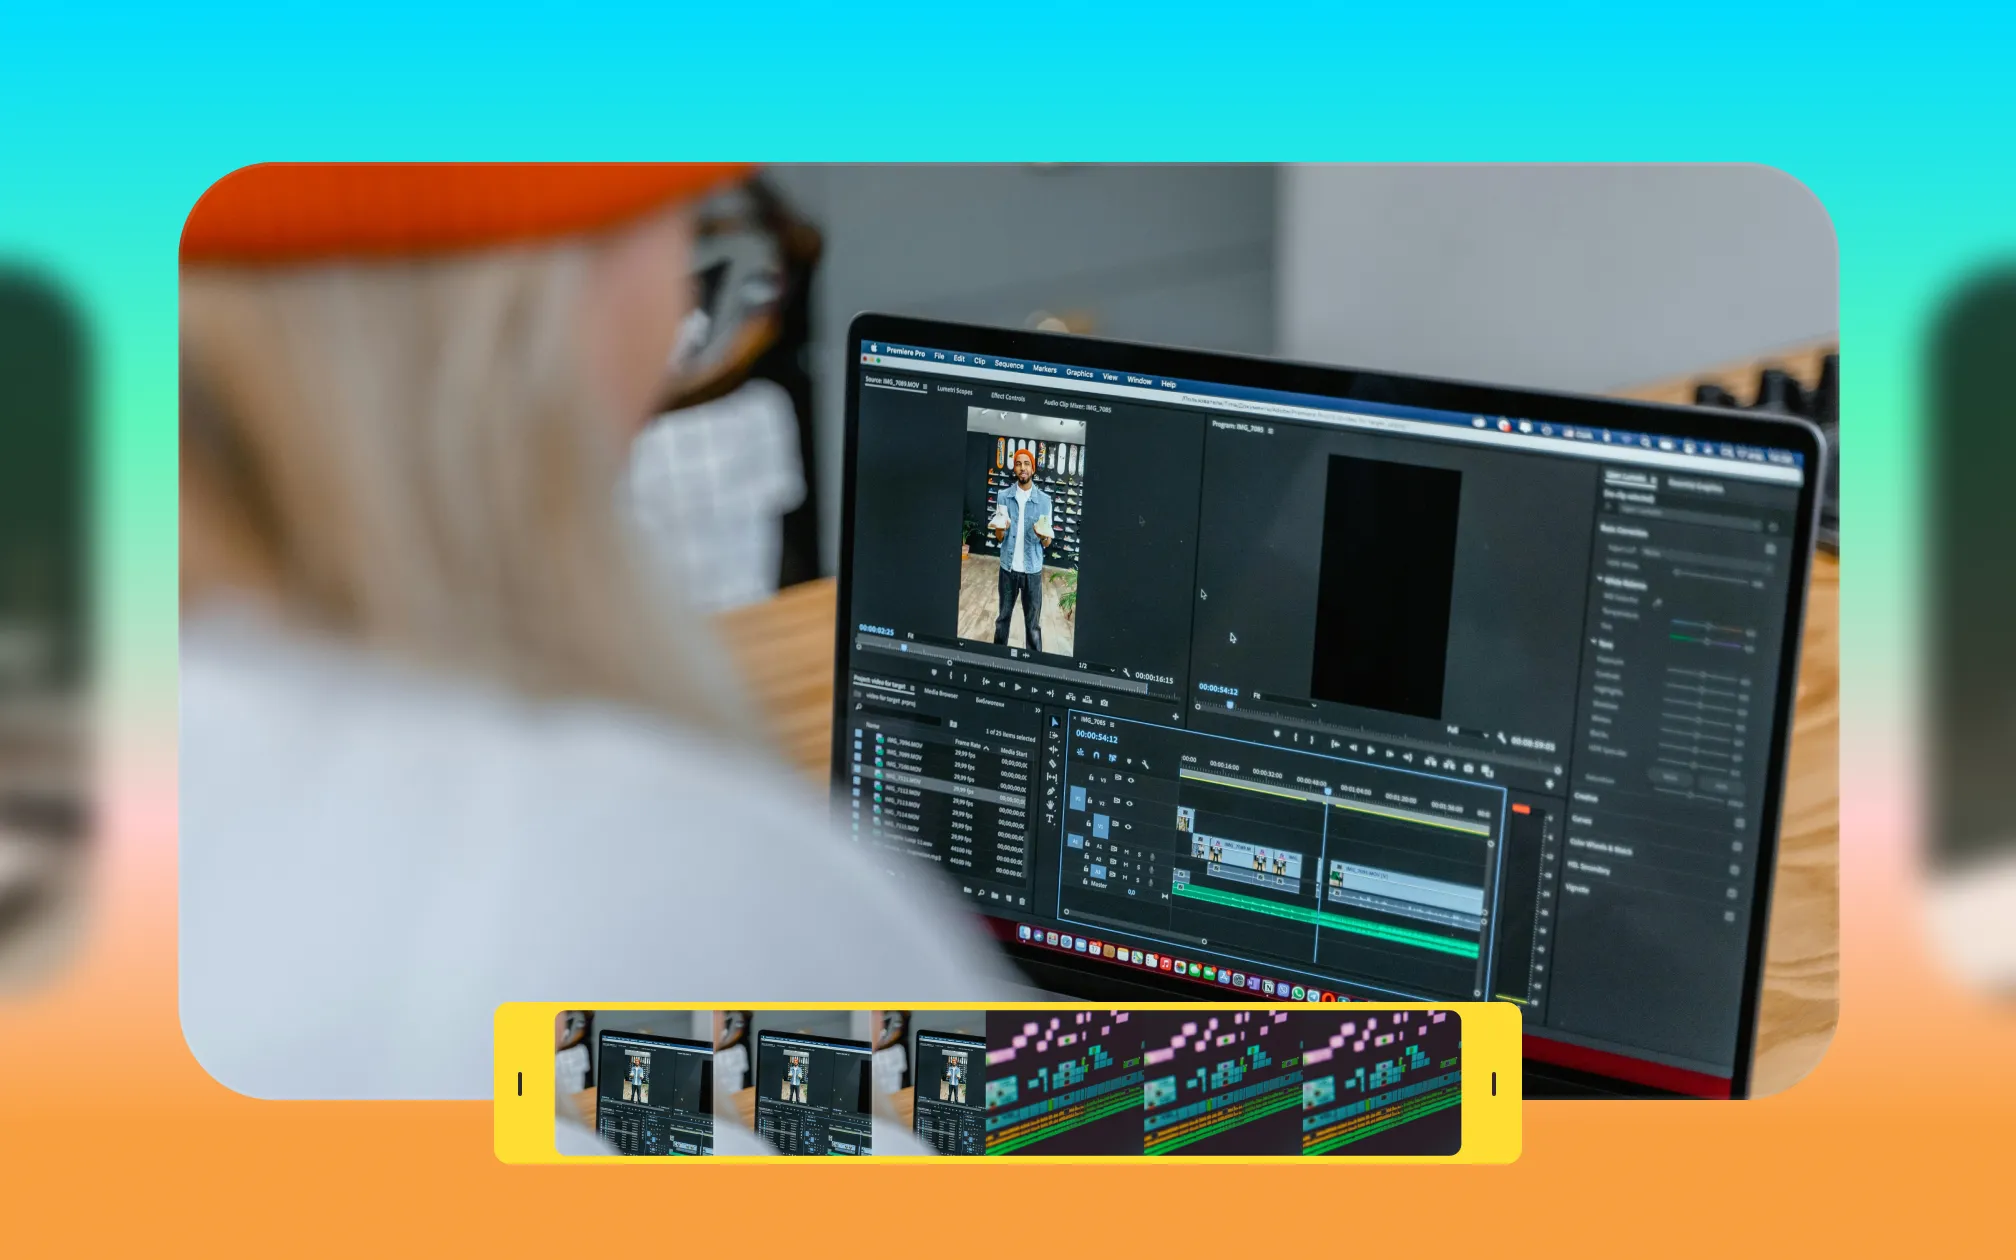
Video editing has a reputation for being complicated, and with tools like Adobe Premiere Pro or DaVinci Resolve, it can be. But the fundamentals aren't. Most beginners can produce a solid, watchable video within a few hours of their first edit. Getting genuinely good takes longer, but the learning curve flattens fast once you understand a handful of core concepts.
What actually takes time? Developing an eye for pacing, learning what to cut (not just how), and getting a feel for what works on each platform. Those come with repetition, not tutorials.
The core editing tips every beginner needs
These tips cover what to do (and why it matters) so you can edit faster without sacrificing quality. First, we’ll share our best tips for manual editing with traditional video tools. Then, we’ll share how to use AI video editing tools to speed things up.
1. Organize your footage
Label clips, group takes, and remove unusable footage upfront. A clean timeline reduces mistakes and speeds up decision-making later.
2. Make a quick edit plan
You don’t need a full storyboard, but knowing your hook, main beats, and ending prevents over-editing and keeps your message focused. Even if you don’t have a full vision for the video, it helps to know your goal: what do you need viewers to think, feel, or do?
3. Choose the best takes and angles
Not every take deserves to stay. Prioritize clarity, energy, and framing, especially in the first few seconds.
4. Cut unnecessary pauses
Dead air, repeated phrases, and unnecessary pauses kill momentum. Trim these from your footage to keep things tighter.
5. Balance the pacing
Find the right rhythm between slower and faster segments. Let important moments breathe so they stick. Balance those slower moments with tighter cuts in other spots where you want to keep the energy flowing.
6. Use cutaways and B-roll to add dynamics
B-roll breaks up dialogue, adds context, and covers jump cuts. It's one of the simplest ways to increase visual interest. A good rule of thumb: any time you're speaking for more than 15-20 seconds without a cut, consider adding a B-roll overlay to maintain visual interest.
7. Clean up the audio
Normalize audio levels, reduce background noise, and keep music subtle. Inconsistent sound is one of the fastest ways to lose viewers.
8. Add intentional transitions
Simple cuts usually outperform flashy transitions. If you use effects, make sure they support the story instead of distracting from it.

Forget manual edits. Captions does it for you.
What video editing software is best for beginners?
The right answer depends on what you're making and where you're publishing. For most beginners, something like Captions or iMovie is a good place to start. They're flexible for different kinds of videos and handle many of the time-consuming tasks for you (captions, trimming, formatting).
Tool | Best For |
Adobe Premiere Pro | Professional, long-form, or cinematic work |
Captions | Social video, talking head content, AI-assisted editing |
CapCut | Quick TikTok and Reels edits, template-based workflow |
Clipchamp | Windows users, simple browser-based edits |
DaVinci Resolve | Creators who want professional-grade color tools for free |
Filmora | Beginners who want more control than CapCut |
iMovie | Mac and iPhone users learning the basics |
How to use AI for video editing
AI has fundamentally changed the mechanics of video creation and production. Instead of spending hours on complicated, manual tasks, AI video editors can transform your entire video in minutes.
These tools can easily tackle common quality fixes and even complex editing, all with a few clicks. For example, you can use AI to:
The best AI video editors take it one step further, helping you edit entire videos. For example, Captions has a feature called AI Edit that applies stylized effects and edits to your entire video at once. Just pick the style you want, and you’ll see transitions, B-roll, sounds, and more. This helps even beginner video editors produce high-quality, smooth videos, without having to learn new skills or hire costly teams.

If your main goal is to create social videos quickly, you can combine these tools into a repeatable flow. Record a talking head clip in Captions, then use AI Edit to auto-cut pauses, add captions, and apply a style that matches your channel. From there, you can generate multiple versions—like shorter cuts for Shorts or Reels—without rebuilding the edit from scratch. This lets you go from raw idea to publish-ready video in a single session.
Production best practices
Whether you’re making manual edits or using AI, you’ll want to follow these best practices to keep workflows clean and content safe.
Protect your footage with the 3-2-1 rule
The 3-2-1 rule is a content safety and flexibility guideline: Keep 3 copies of your footage, stored on 2 different types of media, with 1 copy backed up off-site or in the cloud. While often associated with storage, it’s especially useful for editors working with social content at scale—protecting against lost files, corrupted exports, or last-minute changes.
Check your specs before you begin
Always edit for the platform. Every platform has its own guidelines, and following them can help improve your performance. Look at each platform's recommended specs before you start: orientation, dimensions, run times, and sizing all vary.
You can usually find this in the platform's creator or business resources under "creative specs."
A quick reference for common export settings:
Platform | Aspect ratio | Resolution | Frame rate | Max length |
YouTube | 16:9 | 1080p-4K | 24/30/60fps | No limit |
YouTube Shorts | 9:16 | 1080p | 30/60fps | 60 seconds |
TikTok | 9:16 | 1080p | 30fps | 10 minutes |
Instagram Reels | 9:16 or 4:5 | 1080p | 30fps | 90 seconds |
Instagram Feed | 1:1 or 4:5 | 1080p | 30fps | 60 seconds |
16:9 | 1080p | 30fps | 10 minutes |
For most social content, export at 1080p, H.264 codec, MP4 format. This gives you the best balance of quality and file size across all platforms, especially helpful for content repurposing.
Video editing tips by platform
Good editing principles apply everywhere, but each platform has specific habits that affect performance. Here's what to prioritize by channel.
TikTok video editing tips
Hook in the first second. TikTok's algorithm surfaces content based on completion rate and replays. If the first second doesn't create curiosity, the video is lost.
Cut hard and fast. TikTok audiences are trained for rapid-fire editing. Long pauses or slow intros cause drop-off.
Captions are essential. TikTok is consumed heavily on mute and in loud environments. Styled, word-by-word captions also improve retention.
9:16 vertical format. Full-screen vertical is the default. Content that doesn't fill the frame looks like it was made for somewhere else.
Keep it under 60 seconds for most content. Longer formats can work, but shorter videos tend to earn more replays, which the algorithm rewards.
YouTube video editing tips
Front-load the value. YouTube's algorithm rewards watch time and retention. Tell viewers what they're getting in the first 30 seconds.
Use chapters. Long-form YouTube videos with chapters (added via timestamps in the description) perform better for search and give viewers control over the content.
Audio quality matters more here. YouTube audiences are more tolerant of imperfect video but less tolerant of bad audio. Invest time in sound.
B-roll is critical for long-form. Talking head footage without visual variety loses viewers on longer videos. Plan B-roll as part of your shoot, not as an afterthought.
Export at 1080p minimum. YouTube compresses video, so starting at 4K or 1080p gives the compression more to work with and results in a sharper final output.
Instagram Reels editing tips
The thumbnail matters. Unlike TikTok, Reels appear in a grid. A strong cover frame drives clicks from profile visits.
Captions and text overlays. Instagram is heavily consumed on mute and in a second language for many users. Captions increase accessibility and watch time.
Match the audio trend. Reels with trending audio get surfaced more aggressively. Use trending sounds when they're contextually relevant, but don't force it.
9:16 or 4:5 aspect ratio. 9:16 fills the full screen in the Reels feed. 4:5 (portrait) works better for the main feed if you're posting the same clip there.
Keep edits clean. Reels skew toward polished over raw. Quick cuts, smooth transitions, and styled captions perform better here than on TikTok.
Going deeper: Techniques worth learning early
What is the rule of thirds in video editing?
The rule of thirds is a composition principle: divide your frame into a 3x3 grid and position your subject along the gridlines or at their intersections, rather than dead center. It creates more visual balance and feels more professional.
In editing, this matters when you're framing talking head footage, adding text overlays, or placing captions; keeping key elements in the upper or lower third of the frame prevents them from competing with your subject.
What is B-roll and how do you use it?
B-roll is supplementary footage that plays over or alongside your main footage (the A-roll is usually the talking head or main action). It provides visual context, covers edits, and keeps the viewer's eye engaged.
The job of B-roll is to give the viewer something to look at that reinforces what they're hearing, not just to fill space.
What are J-cuts and L-cuts?
J-cuts and L-cuts are audio editing techniques where the audio from one clip starts before or continues after the video cut. Both make edits feel more natural because audio transitions are less jarring to the ear than hard video cuts.
J-cut: The audio from the next clip starts before the video switches. You hear someone talking before you see them, which creates anticipation and smooth flow.
L-cut: The audio from the previous clip continues over the start of the next video clip. Common in interviews and dialogue scenes where you want to show a reaction while someone is still speaking.
How do you cut out filler words in video editing?
You can cut out filler words in videos either manually or with AI:
Manually: Scrub through the timeline, find the "um" or "uh," trim a frame before and after, close the gap. Repeat several dozen times. Time-consuming but a viable tactic.
With AI: AI can find and remove filler words and long pauses across your entire video in one pass.
How do you improve audio quality when editing video?
Start with the recording. Get your mic close to your subject and minimize room noise before you hit record. Then:
Normalize levels so different clips feel consistent in volume
Use AI noise removal to clean up background hum, AC units, keyboard clicks (Captions' Denoise feature does this in one tap)
Keep music under -20dB when it plays under speech; it should support the video, not compete with it
Avoid over-processing, as too much noise reduction makes voices sound thin and unnatural
What is color grading and do beginners need it?
Color correction fixes technical problems (clips that are too dark, too warm, or inconsistently lit). Color grading is the creative layer on top, giving your video a mood or a look.
Beginners don't need to master color grading to make good videos. Getting color correction right (consistent exposure and white balance across clips) matters more. Most editing tools have auto-correct features that handle this adequately.
What is pacing in video editing?
Pacing is how fast or slow the edit feels. It's controlled by clip length, the rhythm of cuts, and how much silence or pause you leave in.
Fast pacing (short clips, quick cuts) creates energy and urgency. It works well for hooks, hype content, and high-energy ads.
Slow pacing (longer clips, more breathing room) suits storytelling, emotional moments, and educational content where you want viewers to absorb information.
How to improve your editing over time
As you work on more videos, you’ll start to get a feel for what works best for your specific topic and style. Experiment with different kinds of pacing and tone to see what resonates with your audience and feels right for you.
We also recommend studying top videos on your favorite platforms. See if you can figure out what made other videos so successful. Over time, you’ll start to see patterns in videos that go viral or drive strong engagement.
Remember, editing is an art, and your eye will get sharper for it over time. You don’t need to be a pro to make great videos: You just need the right tools, and a great idea.